3D printed sculpture: from an artist's file to a finished piece
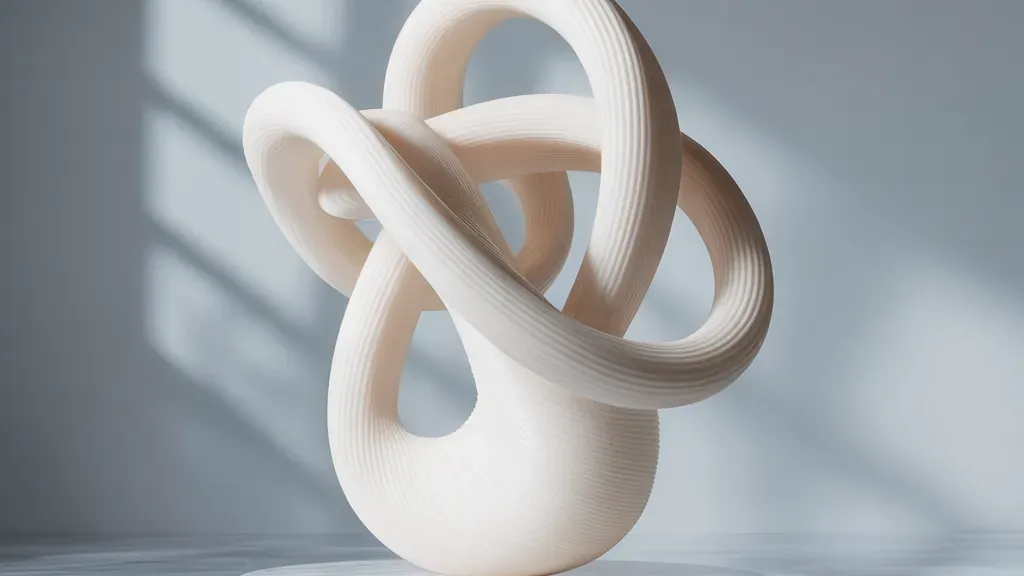
A sculpture leaves the workshop with paint on it. Between the file an artist emails us and that moment sits a chain of decisions about geometry, orientation, wall thickness, seams and coating, and almost none of them are visible on a screen.
Most of the work is not printing. Printing runs unattended overnight. The hours that decide whether a piece reads as art or as a printed object are spent before the machine starts, checking what the mesh actually describes, and after it finishes, with abrasive paper in hand.
3D printing for artists in Dubai usually starts from a finished digital sculpture, where the question is how to get it into the physical world at a chosen size. Sometimes it starts from a sketch and an intention instead, and we build toward the shape together.
What artists send us, and what happens to the mesh first
Files arrive as STL, OBJ, ZBrush exports, sometimes a photogrammetry or handheld scan of a clay original. All of them get opened and inspected before anything is sliced.
What we find, in rough order of how often it comes up:
- Holes in the surface. A mesh has to describe a closed solid, which is what people mean by manifold. The slicer walks the geometry deciding what is inside the object and what is outside, and a gap in the shell breaks that logic: it either patches the hole with something nobody asked for, or gives you missing walls and stray infill.
- Flipped normals. Each triangle carries a direction telling the software which side faces out. When some are inverted, usually after boolean work or a careless mirror, the render still looks right and the slice does not.
- Self-intersections, where a sleeve passes through a torso or a hair strand loops through itself. On screen nothing is wrong. In the slice you get blobs and voids inside the wall.
- Zero thickness. A cloak modelled as a single surface has no volume at all, and describes nothing a machine can build.
- Detached fragments. Geometry floating a fraction of a millimetre off the body prints as a separate object, or not at all.
- Polygon counts far past what the geometry needs. A ZBrush export at twenty million triangles brings a slicer to a crawl without adding anything a printed surface can hold. Decimated to a few million, it slices in seconds and looks identical in plastic.
Repairs that leave the artist's intent alone we do ourselves and mention in the reply: closing shells, unifying normals, removing duplicate faces, decimating, hollowing a solid body that would eat material for nothing. What we will not do quietly is change a shape. A finger 0.6 mm thick at the chosen size, a blade tapering to nothing, an arm that cannot be supported without marking the face below it, all of that goes back to the author with the options laid out. Thinning a wrist is an authorial decision even when it looks like a technical one.
Scans need their own note. Scan data carries noise, missing information in cavities and, on photogrammetry, a slight drift in proportion. Cleaning it up is sculpting work, so agree early how faithful to the scan the printed version has to be.
A digital sculpture and a printable one are not identical objects
Every printed piece obeys gravity and material. A digital one does not, and reconciling the two is where the honest conversation happens.
Wall thickness comes first. A hollow shell needs enough material to hold its shape while printing and to survive being lifted and carried, which on a display piece usually means a few millimetres rather than the fraction of a millimetre that reads fine on screen. Larger work gets internal ribs too, because a broad thin panel flexes and pops like a car door skin, and ribs turn it into a stiff box. They double as bonding surfaces when sections come together.
Then overhangs. Anything leaning more than roughly 45 degrees from vertical needs support underneath while it prints, and support touches the surface. It leaves marks. So orientation on the plate is an aesthetic decision as much as a technical one: we rotate the model until supports land on a back, a base, an underside, somewhere that gets sanded anyway, and keep them off a face or a polished curve. When the pose makes that impossible we say so early, because the alternatives are a different split, a sacrificial section, or a mark where it shows.
Thin protrusions get checked against the final size. A spear or a trailing ribbon that works at 400 mm becomes fragile at 150 mm and unprintable at 60 mm, and the fix is usually a small local thickening the eye never registers.
Fine detail has a floor as well. Texture below about half a millimetre disappears on FDM and survives on resin, which steers most of what comes next.
FDM or SLA, and what each surface feels like in the hand
FDM lays down molten plastic in lines. SLA cures liquid resin with light, layer by layer. Both run here every day, and the choice follows the character of the work. The processes and materials we use are listed in the technologies section of the site.
FDM handles scale. Build volumes are larger, and the material takes handling, drilling and tapping. Layer heights typically run 0.1 to 0.3 mm. At 0.2 mm you feel the lines with a fingertip on a vertical wall, and on a shallow slope you see terracing, because each layer steps sideways across the incline: the flatter the surface, the wider the tread and the more obvious the stair. A cheekbone tilted twenty degrees from horizontal shows this far more than the side of the same head. That is a surface to fill and sand, not a defect to fight with the printer.
SLA gives you the surface straight off the machine. Layers usually sit between 0.025 and 0.1 mm with in-plane resolution in tens of microns, so resin reads as smooth and holds detail an FDM nozzle cannot describe: fabric weave, pore texture, lettering a couple of millimetres tall. Small figurative work and collectible scale pieces go to resin for that reason.
The trade is toughness. Standard resins are harder and more brittle than printed thermoplastic, so a thin resin element snaps where the same shape in FDM would flex, and resin keeps reacting to ultraviolet light after curing. Tougher resins narrow that gap without closing it.
Plenty of pieces use both. A large FDM body carrying resin heads, hands or ornament is a normal arrangement, and the joint vanishes under filler and primer like any other seam. Our gallery shows how far a finished piece sits from what comes off a machine.
Scale: how a sculpture larger than the printer gets built
We print from small figures of around five centimetres up to constructions of fifteen metres. Anything above the build volume is printed as sections and assembled into one object, and past a certain size the piece is a kit before it is a sculpture.
Sectioning is design work. Cut planes follow the lines of the form: a panel edge, a change of plane, a fold in drapery, the shadow line under a jaw. A cut straight through a clean convex curve leaves a seam that stays visible however well it is filled, because the eye reads any interruption in a smooth highlight.
Each section gets alignment geometry built in, whether dowel pockets, tongue and groove or keyed blocks that fit one way only. Without registration you are lining up two large curved shells by eye while the adhesive goes off. Joints are bonded, then filled, sanded and primed as one surface.
Weight surprises people most. Large printed parts are thin shells, lighter than they look, and light is not always good. A tall shell has to carry its own load, it needs something solid to bolt to, and outdoors it behaves partly like a sail. We plan the internal frame alongside the section layout: a spine or welded stand for the shells to hang on, ballast low in the base, threaded inserts at the mounting points, hatches so somebody can reach the bolts on site. Centre of gravity gets checked before anything prints, because a figure leaning forward on a small footprint is a tipping problem rather than a printing one. Joint types and assembly sequence follow the same registration-and-bonding logic on every sectioned piece we build.
Finishing: where a printed object becomes a sculpture
On display work, surface preparation regularly takes longer than the print. Sometimes several times longer, which is the part most people do not expect.
An FDM piece headed for paint follows roughly this loop. Supports off, seams knife-trimmed, then a heavy coat of primer filler. Primer is diagnostic: matte grey kills the highlights and shows every flaw the eye had been sliding over. Then sanding, generally from around 180 grit up through 320 and 400, spot filler into the low places, primer again. A display piece goes through that cycle two or three times before any colour, and a gloss finish takes the last stages wet, up to 600 or 800.
One thing worth stating plainly, because it costs people days: sanding does not remove layer lines. Abrasive paper takes the top off the ridge and leaves a shallower ridge. Fill them, then sand the filler flat.
Resin has a shorter routine. A wash in isopropyl alcohol to clear uncured resin, an ultraviolet post-cure, supports clipped and their contact points sanded. Resin comes off glossy, which flatters it and hides small defects until primer lands.
How long this takes depends on surface area and the finish you want. A small piece with a satin coat is quick. A two-metre sectioned figure going to automotive gloss is another order of work, and primer and filler dry on their own schedule. It is also why every project is quoted after we see the file: volume, print hours, layer height, the area to be finished and the assembly each move the figure on their own.
Indoors or outdoors in the UAE
Indoors, most constraints come off. Material follows detail and structure, paint can be whatever the work calls for, and the piece keeps the look it had on handover.
Outdoors in this climate the object is under attack from several directions at once. Heat acts fastest: a dark surface in direct summer sun here runs well above ambient, and common printing thermoplastics soften in that range, so an unsuitable material can bow in place with nothing touching it. Ultraviolet light works slower and deeper, breaking polymer chains at the surface until the finish chalks, shifts colour and develops a brittle skin that crazes. Airborne sand acts like a mild permanent sandblast on windward faces, and humidity near the coast carries salt into every fastener.
So outdoor work uses materials with a higher softening point and better ultraviolet behaviour, and the coating does the real protecting rather than the plastic. An exterior grade paint system with ultraviolet inhibitors, over prepared primer and sealed, is what stands between the sun and the polymer. Fasteners and frames go stainless. Water needs a way out: a hollow form that can collect it wants weep holes at the low point, because trapped water inside a sealed shell is how a coating lifts from behind.
Pale finishes run cooler than dark ones, which helps the plastic underneath. They also show yellowing and dust more honestly than a mid grey, so a white piece outdoors asks for more cleaning and a harder look at the paint system. The two fail differently, and knowing which failure you would rather live with is useful.
Nothing outdoors is permanent, and we would rather say so at the start than after installation. An exterior piece wants periodic inspection of the coating on upward facing surfaces, the seams and the fixings, and refreshing at some point. Work meant to live outside for years gets planned so that is possible: a frame that can be reached, sections that come apart, a finish that can be rubbed back and recoated.
What helps most from the artist's side
Tell us the final height in millimetres, because most decisions below it follow from that number. Send a reference photograph of the surface you want rather than a word for it. Say where the piece will live and be specific about sun: indoors beside a south facing window is closer to outdoors than it sounds. And say which faces matter, because knowing the work is seen from one side lets us hide seams and support marks behind it.
Then send the model you have, unfinished, scanned with holes, or a sketch and a size. Send the file through the form or on WhatsApp and we will come back with what we would change, how we would split and finish it, and a price for that piece.
FAQ
Do you fix problems in my file, or does it have to be perfect?
Send what you have. We handle the technical side ourselves: closing holes so the mesh is a proper closed solid, unifying flipped normals, clearing self-intersections, decimating an over dense mesh, hollowing a solid body. What comes back to you is anything that changes the sculpture, such as a detail too thin to survive at the chosen size, or a pose that forces supports onto a visible face. The decision there stays yours.
Which format should I send?
STL and OBJ are both fine for sculpture, and OBJ helps when the model carries texture data. ZBrush exports are welcome, ideally decimated rather than sent at full resolution, and scan data we take as mesh in the same formats. One practical note on STL: it stores no units, so name the intended final height in millimetres in your message. A model can otherwise land in the slicer ten times larger or smaller than intended with nothing in the file to reveal it.
Can you print a sculpture bigger than the printer, and how does it go together?
Yes. Anything larger than the build volume is printed in sections and assembled into a single object, up to constructions of fifteen metres. Cut lines go where the form hides a joint, every section carries alignment features so the parts fit one way only, and joints are bonded, filled and finished as one surface. Large pieces also get an internal frame, mounting points and ballast, planned alongside the sections.
Will a printed sculpture survive outdoors in Dubai?
It can, provided the material and coating are chosen for it from the start and the piece is treated as something that gets maintained. Heat, ultraviolet light, sand and humidity all work on plastic here, so outdoor pieces use materials with a higher softening point, an exterior paint system with ultraviolet inhibitors, stainless fixings and drainage for hollow forms. We do not call any outdoor finish permanent, and an outdoor piece wants inspection over time.
How long does finishing take compared with printing?
On display work it usually takes longer than the printing, and on a large piece going to gloss it can take several times longer. The cycle is the reason: primer filler, sand, spot filler, primer again, typically two or three rounds before colour, with drying time that cannot be compressed. It depends heavily on surface area and how smooth the final finish has to be, which is why we look at the file before naming any schedule.