3D printing for exhibitions in Dubai: logos, mockups and stand props
The objects visitors photograph on a stand are almost never flat. A logo standing half a metre proud of the wall. A bottle built at six times its real size so the label reads from the aisle. A figure taller than the people walking past it. Those things get printed, and almost none of them leave the workshop in one piece.
3D printing for exhibitions in Dubai is one slice of what we do: we print physical objects here, prototypes first, exhibition pieces second, art objects third, on FDM and SLA depending on what the object has to do. Sizes run from a 5 cm figure to constructions of 15 m, and anything bigger than a build chamber is printed in sections and assembled into one piece. One boundary is worth naming early: we do not build stands. The contractor builds the structure, the joiner builds the walls, and we make the props and stand elements that sit on them and in front of them.
That split matters on timing. By the time a stand design is signed off, the printed hero object is usually already on the critical path, and nobody has measured the doorway it has to pass through.
Objects that earn their place on a stand
The brand mark, enlarged. A logo at 600 to 1200 mm across, mounted on standoffs so it throws a shadow on the wall behind it, reads from further away than any vinyl. Printing suits it because logos have awkward geometry: internal corners, thin ligatures in a wordmark, rounded relief a router bit cannot reach without a custom cutter. Letters come off the machine separately, get filled, sanded and sprayed in the brand colour, then mount on a plate or on threaded rods bonded into the back of each letter. Inserts go in before paint, never after.
Product mockups at a size the real thing never comes in. A sachet, a razor, a perfume bottle, a SIM tray. Blown up by four or twenty times, the product becomes the stand's landmark, and the scaling exposes everything. An embossed logo 0.3 mm deep on the real object becomes 3 mm deep and needs a proper edge radius. We usually rebuild those details rather than scale the file, because a moulding draft line looks like a defect at 2 m tall.
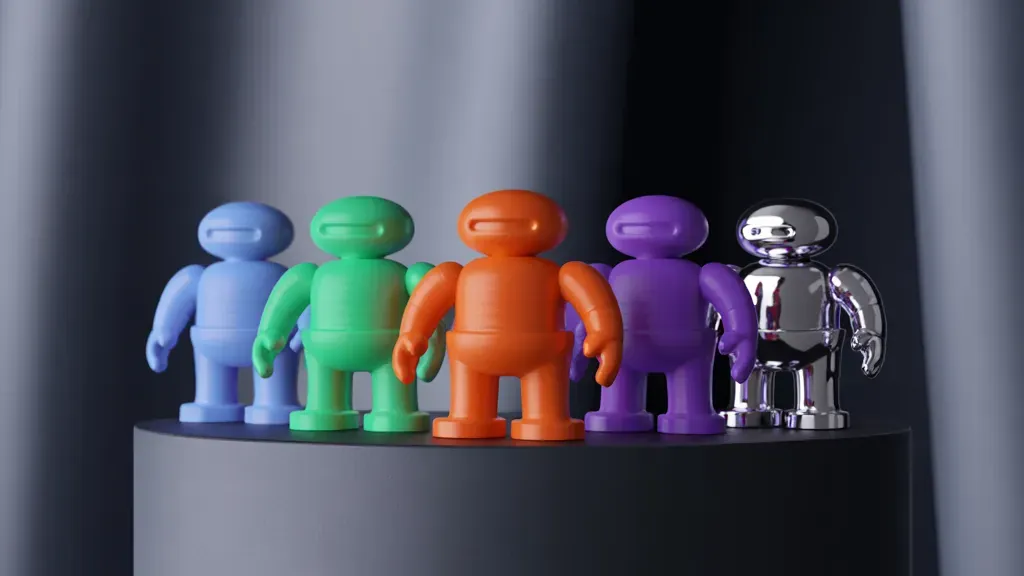
Life-size and larger figures. Mascots, characters, animals, a human figure for a photo point. Here hollow construction and an internal frame stop being a refinement and become the whole engineering problem. Large-format machines exist specifically for this work, Massivit among the better-known makers of them; on a sectioned FDM build the approach is the same, with more joints.
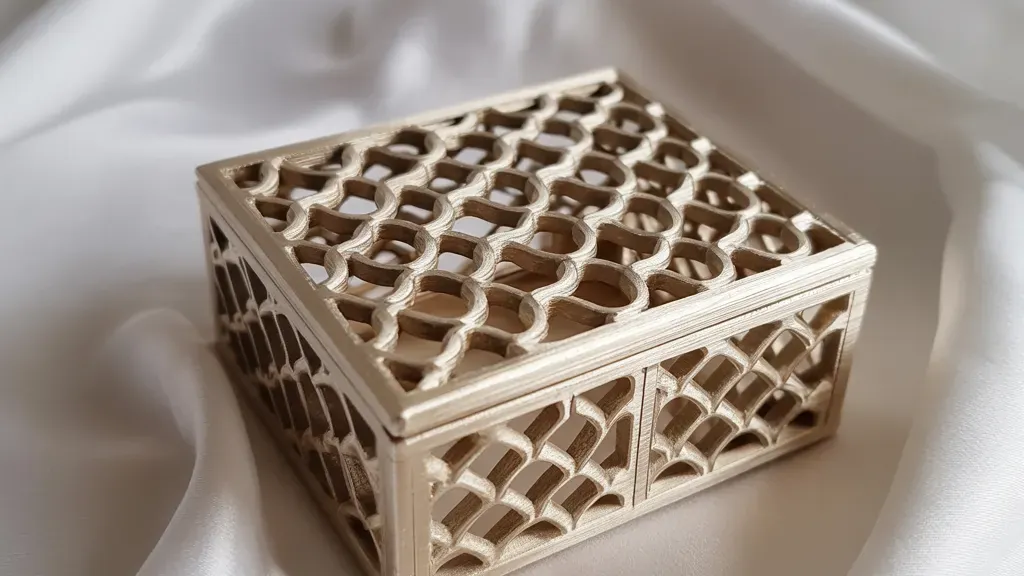
Repeated decorative elements. Two hundred identical tiles for a feature wall, a run of fins, a lattice screen, cradles shaped around the client's actual product. Printing is at its most economical here: the second part costs what the first did and no tooling exists.
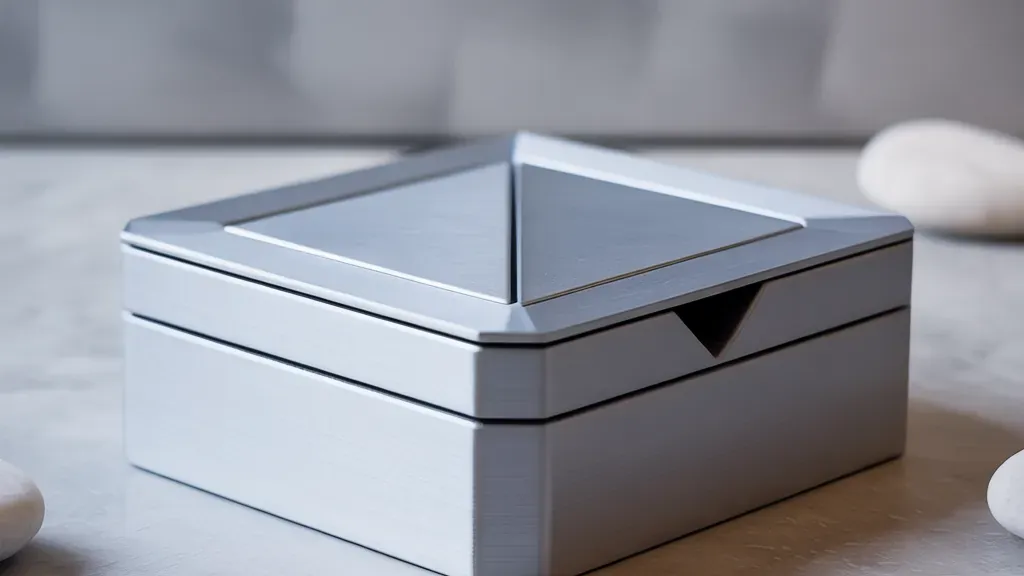
Handling duplicates of the real product. A visitor wants to pick the thing up. If the real unit is a pre-production sample, expensive or under NDA, a printed duplicate takes the abuse instead. These get finished harder than anything else, because they live in people's hands under stand lights.
The range of finished work is in our gallery.
When printing beats foam or routing, and when it loses
Foam cutting and CNC routing win on plain volume. A large simple block, a slab, a smooth cone, a curved panel: cut it from EPS, skin it, paint it. Faster and lighter than printing the same volume, and on a simple form the finish is just as good. Saying so costs us work and saves the client money.
Printing wins when the shape is genuinely complex: undercuts, hollow interiors, internal channels, organic surfaces no cutter reaches in one setup. It also wins on exactness. When the client already has a CAD file, a printed mockup carries the real geometry, parting lines and fillets included, and that is what makes a viewer believe it. A carved foam copy is an interpretation.
The other decider is repetition. For one plain shape, cutting is cheaper. For forty complex ones, printing is cheaper, because the fortieth is identical to the first. Fine relief is the third case: engraved text, small pictograms and micro-texture survive on SLA and, above a certain size, on FDM with a fine nozzle. On foam they disappear under the skim coat.
Mixed builds are normal. Foam core for the bulk, printed parts for the letters and the tricky curves.
Printing something larger than the printer
Every printer has a finite chamber. Beyond it the object is cut into sections in CAD, printed as parts and assembled. That sectioning process holds for any object bigger than a build chamber; what follows is what changes specifically when the destination is an exhibition hall.
The split follows the form, not the build volume. A cut placed for the printer's convenience lands in the middle of a visible face and shows under stand lights forever. A cut along an edge, in a crease, behind a shoulder or at a colour change disappears after filling. We plan the split before the first part is sliced, and where the geometry offers no natural line, the split becomes a deliberate panel gap in the design.
Joints need registration as well as glue. Every interface gets alignment features: dowels, tongues and pockets, printed keys that fit one way only. On a figure with eight sections, a millimetre of error per joint compounds into a lean nobody can fix at the venue. Interfaces are also enlarged on purpose, since a bonded joint is only as strong as its glued area. A butt joint on a 4 mm wall is weak, so internal flanges go in and the bond spreads over a wider surface.
Orientation of each section follows the load, because Z is the weak axis. FDM parts break between layers before they break across them, so a section whose layer lines run across the point where a hand will grab it is a break waiting to happen. Strength comes first and surface second, which sometimes means more support material and more sanding.
Seams get filled rather than disguised. After bonding, the joint is reinforced from inside where access allows, then filled, sanded, primed, sanded again, spotted where the primer shows what the eye missed, primed again. On an exhibition piece that cycle typically runs three or four times before colour.
Something inside has to carry the load. Plastic shells do not support themselves at scale. Large objects get an internal skeleton of aluminium profile or steel, with printed bosses and captive plates bonded into the shell, so the frame takes the weight and the shell carries only itself. That frame also carries the fixing to the floor, the base plate or the stand structure.
The industry's best-known version of this is the stand WASP printed with UPM Group for EuroShop, published as roughly 100 square metres of printed structure in UV-stabilised PETG with 20% glass fibre. Someone else's project, not ours, but the material logic holds: the bigger the piece and the longer its life, the more the material choice is about stiffness rather than surface beauty.
Weight, transport, and the ten minutes when it goes in
A solid printed object is a mistake. More material, far longer on the machine, and heavy enough to become unmanageable. Large pieces come out hollow, with wall thickness and internal ribbing chosen for how the object will be handled.
Thin walls are the classic failure on big objects. A 2 mm shell looks sufficient in the slicer, then dents under a thumb, flexes when carried, or cracks along a layer line when the crate is set down hard. Above roughly a metre we go heavier on the shell and add ribs, because ribs stiffen far more efficiently than adding wall everywhere.
Transport is designed alongside the object. Which door does this go through, is there a service lift or only stairs, is there forklift access to the stand position, how many people will be there to lift it. Pieces that have to move again are built to travel disassembled and bolt together at the venue, with fixings reachable by hand. Where bonding on site is unavoidable, cure time goes into the install schedule rather than being hoped for.
Crating is part of the job. Printed shells take vibration well and point loads badly, so pieces travel supported over their form instead of resting on a rim. Spares travel with them: an extra letter, a spare key, filler, primer and matched paint in a small tin. Halls at Dubai World Trade Centre and Expo City run tight build-up windows with a lot of traffic past your stand, and something always gets scuffed. Weight limits, rigging rules and height restrictions differ by venue and by hall, and they come from the organiser's exhibitor manual rather than from us, so we ask for that document early and design to what it says.
Finish under stand lighting
Stand lighting is harsher than any workshop. Spots raking across a surface make every layer line, sanding scratch and shrink mark visible from three metres, and on gloss they add hot reflections that flatten the form and ruin photographs.
Matte or satin is the default for that reason. Gloss goes on when the object imitates something glossy, a bottle or a polished device, and then preparation underneath has to be a level better, because gloss magnifies whatever is under it. Getting there is unglamorous: filler, block sanding through finer grits, primer, inspection under a raking light, repeat. On display work that stage often takes longer than the printing did.
Brand colour is its own conversation. We spray to a supplied reference and get close, but painted plastic under LED spots never reads identically to the same colour on paper or on a screen. If the object stands next to printed graphics, we ask for the graphics or a sample to match against, and where tolerance is tight the honest answer is a sprayout approved before the whole object is painted. Which material suits which object is on our materials and technology page.
Counting backwards from install day
The date that matters is not the opening, it is the first hour of build-up. Everything schedules backwards from there. The order of stages is fixed; how long each takes depends on size, geometry and finish.
- Model preparation: checking and repairing the file, planning the split, designing joints, keys, frame mounts and fixing points. On a complex figure this is engineering time, not a formality.
- Printing. Large objects run for days across several machines, and machine time is the one stage that does not compress when you add people.
- Assembly and post-processing: bonding, internal reinforcement, filling, sanding, priming. On display work this regularly takes as long as the printing.
- Paint.
- Trial assembly in the workshop. The object goes together completely, gets checked for lean and fit at every joint, gets marked up so the same parts go back together the same way, then comes apart for crating.
- Delivery and install.
Trial assembly is the stage clients offer to drop when time is short, and the one we will not drop. A joint that needs adjustment is a twenty-minute fix on the bench and a disaster on a stand floor at 8 pm with the carpet already down.
Hence the only useful advice about timing: talk to us while the stand is still being drawn, not after it is approved. At the design stage the hero object can still be split sensibly, sized to fit the doorway and specified in a material that suits the lighting. A week before build-up, the only variables left are how much gets printed and how rough it looks. Send a file, a sketch or a photo of the real product with the size you want it at, plus the install date and the venue, through the contact form or WhatsApp.
FAQ
How large an object can you actually print?
From about 5 cm up to constructions of 15 m. Anything larger than the build chamber is printed in sections and assembled into a single piece, so the printer is rarely the limit. The door, the lift, the truck and the venue's rules on height and rigging usually are. Tell us the finished size and where it is going, and the split gets planned around all of it.
How do you assemble something bigger than the printer without visible joints?
The object is divided in CAD before printing, with cuts along natural lines of the form: edges, creases, panel gaps, colour changes. Each interface carries alignment keys so parts go together one way only. After bonding, joints are reinforced from inside where we can reach, then filled, sanded and primed in several cycles until a raking light shows nothing. A joint placed for the printer's convenience rather than the form's is the one you will see from the aisle.
What material and finish work best under stand lighting?
Matte or satin in almost every case, because stand spots hit at an angle that makes gloss throw hot reflections and makes every layer line visible. Gloss is worth it when the object imitates something glossy, and then the preparation has to be better. Material depends on size and lifespan more than looks: bigger and longer-lived means stiffer and more dimensionally stable, and for sunlit positions UV behaviour matters. We recommend per object rather than by default.
Can the object be reused at the next exhibition?
Usually, if it is designed for reuse from the start: bolted joints instead of permanent bonding, fixings reachable by hand, a frame that takes the load, and a crate built for the object rather than borrowed. Reuse also means accepting touch-ups, since paint gets scuffed in transit and a piece that travels to three shows will need filler and a respray somewhere along the way. Say up front if it will travel, because it changes how we split it.
What do you need from me to quote a piece?
A 3D file is ideal, in STEP, STL, OBJ or 3MF. A dimensioned sketch works, so does a photo of the real product with the scale factor you want, and for logos a vector file of the mark is enough to start. With the geometry we need the finished size, the finish and colour, the install date and the venue. Every project is priced individually after we have seen the file or the brief, because the cost drivers are volume, print time, how much hand finishing the surface needs, whether there is an internal frame, and how much runway is left before build-up.